Ditch lights are auxiliary lights designed to illuminate the sides of trails—ditches, trail edges, and peripheral zones that standard headlights often miss. Their main job is to improve peripheral visibility, helping drivers spot obstacles, animals, trail markers, and hazards earlier—especially in turns and tight terrain. You may also hear them called A-pillar lights or cowl lights, named after where they are typically mounted.
1. Why Ditch Lights Are Useful (Real-World Scenarios)
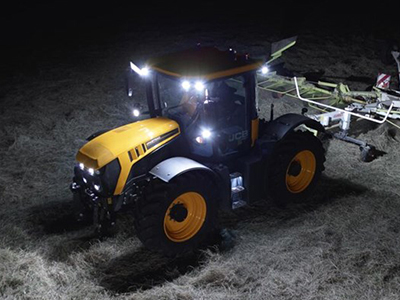
Even with decent headlights or a front light bar, drivers often lose side visibility when entering a turn. Ditch lights solve this by pushing light outward, making it easier to read trail edges and identify hazards before you commit to the corner. They’re also useful on dark rural roads or trail junctions where visibility and signage can be limited—extra side coverage helps you find the correct path sooner.
2. Common Mounting Locations
Ditch lights are often one of the first off-road lighting upgrades because mounting is relatively simple with the right bracket. In most cases, a vehicle-specific bracket gives the cleanest fit and most stable result, while universal mounts offer flexibility but may vary in appearance and rigidity.
Typical mounting spots include:
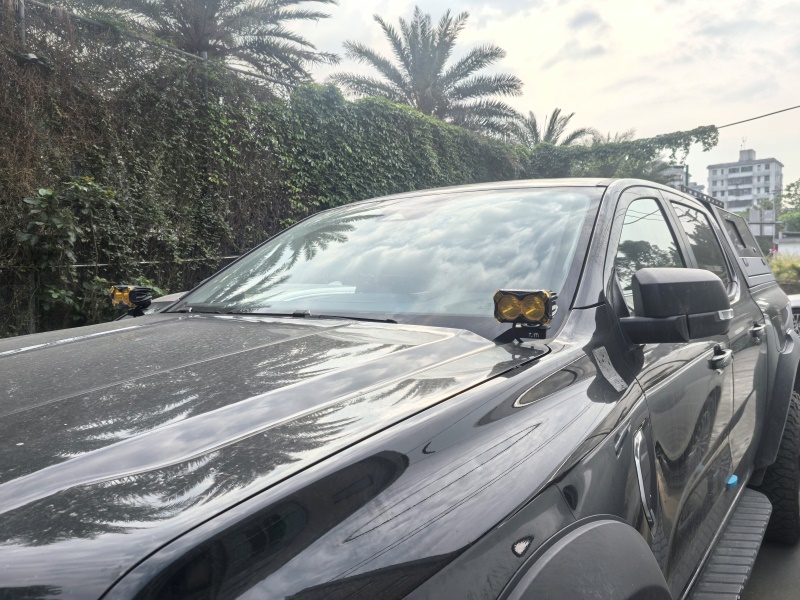
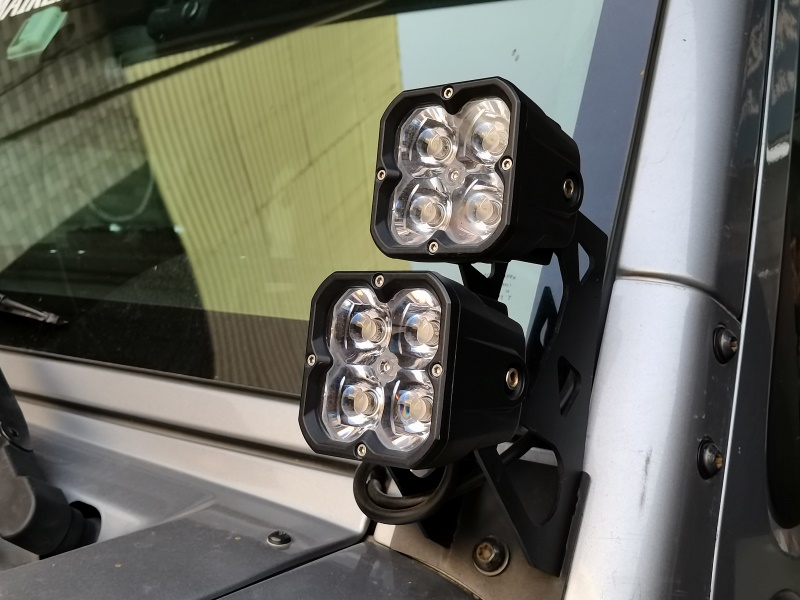
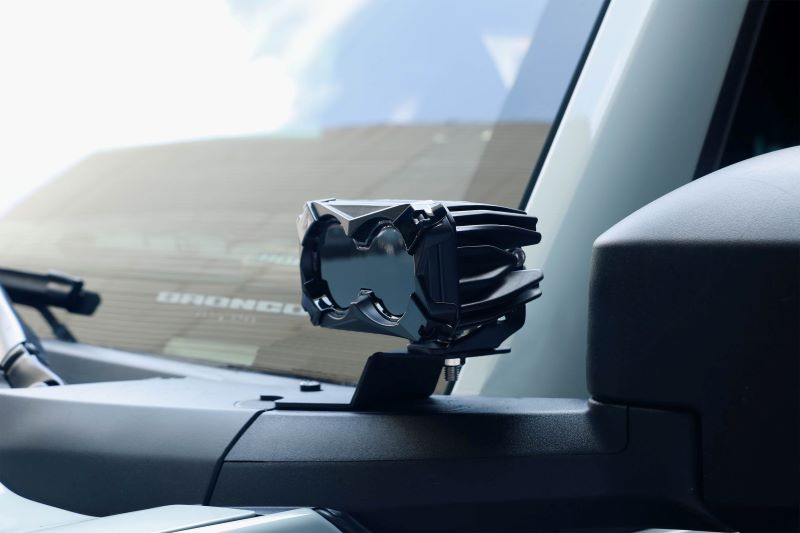
- Truck platforms (Tacoma, Raptor, etc.): hood-hinge brackets inside the engine bay that place the lights near the lower corners of the windshield, just above the hood.
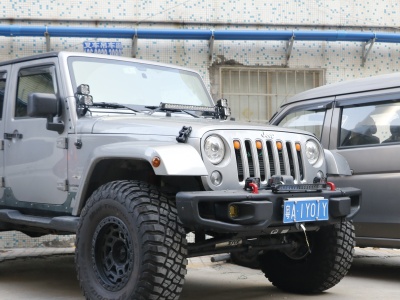
- Jeeps: external mounting points such as windshield hinges.
3. How to Aim Ditch Lights: Two Approaches
There are two common schools of thought when aiming ditch lights. Both can work—your best choice depends on what your current lighting setup is missing, and you can easily swivel the pods to test each approach in real conditions.
Option A: Aim Outward (True “ditch” use)
Best if your headlights/forward lights already cover short- and mid-range distances well. Outward aiming prioritizes side coverage and typically reduces hood glare.
- Pros: stronger peripheral visibility; less hood glare.
- Cons: doesn’t add long-distance forward lighting.
Option B: Aim Forward (Supplemental forward fill)
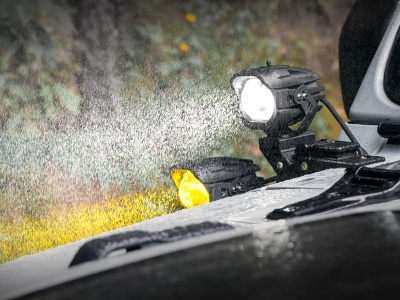
Useful if your factory headlights are weak and you need more usable short/mid-range light. Forward aiming can help, but it often increases glare and back-scatter in poor weather.
- Pros: better forward distance visibility.
- Cons: more hood glare; more back-scatter into your eyes in dust/fog/snow/rain.
Tip: If you’re unsure, start with a moderate outward angle and fine-tune after a night drive—the beauty of ditch lights is how easy they are to swivel and test.
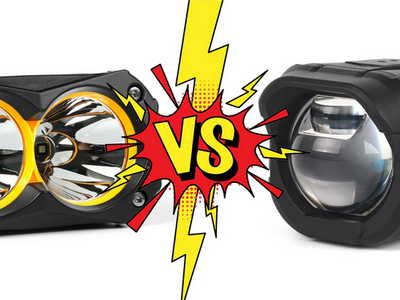
4. Best Beam Patterns for Ditch Lights (Match Pattern to Aim)
Beam pattern should follow aiming direction. If you aim forward, a tighter spot pattern is typically more effective. If you aim outward, a combo or spread pattern provides wider horizontal coverage along trail edges.
- Aimed forward → Spot beam (tighter, more concentrated output).
- Aimed outward → Combo / spread beam (wider horizontal coverage).
If your lights allow lens swaps or pattern options, experiment with both to match your terrain and driving style.
5. Quick Setup Recommendations (Simple & Effective)
For most off-road builds, a simple two-pod setup near the lower windshield corners works extremely well. Start outward for true side coverage, then adjust downward and outward just enough to minimize hood glare and avoid blinding other drivers.
- Mount two pods near the lower windshield corners using rigid, vehicle-specific brackets when possible.
- Aim outward first; move slightly forward only if you need more usable short/mid-range light.
- Re-test in dust/fog/rain to check back-scatter and comfort.
6. Common Mistakes to Avoid
Most problems come from aiming too high or using the wrong pattern for the aiming direction. Excessive upward aim increases glare, and wide beams pointed straight forward often create more hood glare and wasted output.
- Aiming too high → unnecessary glare and reduced usable light on the ground.
- Forward aiming with wide beams → more hood glare and less effective distance lighting.
- Skipping poor-weather testing → back-scatter can reduce visibility dramatically.
- Loose brackets → vibration ruins beam control and durability.
7. Product-Based Recommendations
A) “Standard Ditch Setup” (Outward aiming + premium look)
3012 Series 3" Pods (RGB / Amber Backlit available) are a strong match for A-pillar, grille, and bumper installs. This family offers four beam options—Driving, Fog, Spot, and Flood—so for “true ditch” side coverage, steer buyers toward Driving/Fog/Flood.
- Compact 3" cube format with optional amber backlit or full RGB accent.
- Osram 3.5W LEDs + TIR projector optics; IP67; 9–36V DC; wiring harness included.
B) “Small Size, Long Throw” (Forward or mild outward)
TR2 2" 30W Hyper Spot Pods are ideal when customers want maximum distance from a small pod. The listing includes verified lux/throw data and measured output details, which makes this SKU easy to position for performance-driven buyers.
- Hyper Spot performance with 1-lux reach figures listed (e.g., up to 491 m for white).
- 30W ±10%; IP67; 12–24V DC; measured output listed at 1509 lm ±10%.
C) “Easy-to-Sell Entry Pod” (simple spec + clear positioning)
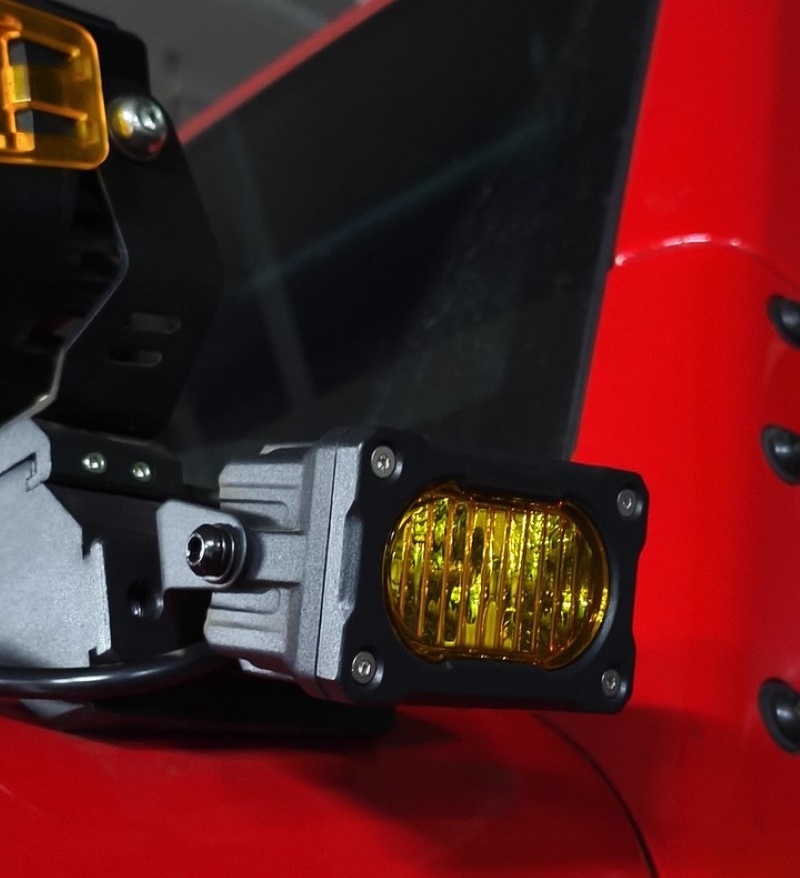
For distributors who want a clean, fast-moving entry option, the 3045 Series 3.3" 20W Spot Pod keeps the story simple: 20W spot beam, white or yellow option, and IP67 protection.
- 20W spot beam; white or yellow option.
- IP67; “2500LM brightness” highlighted in key features.
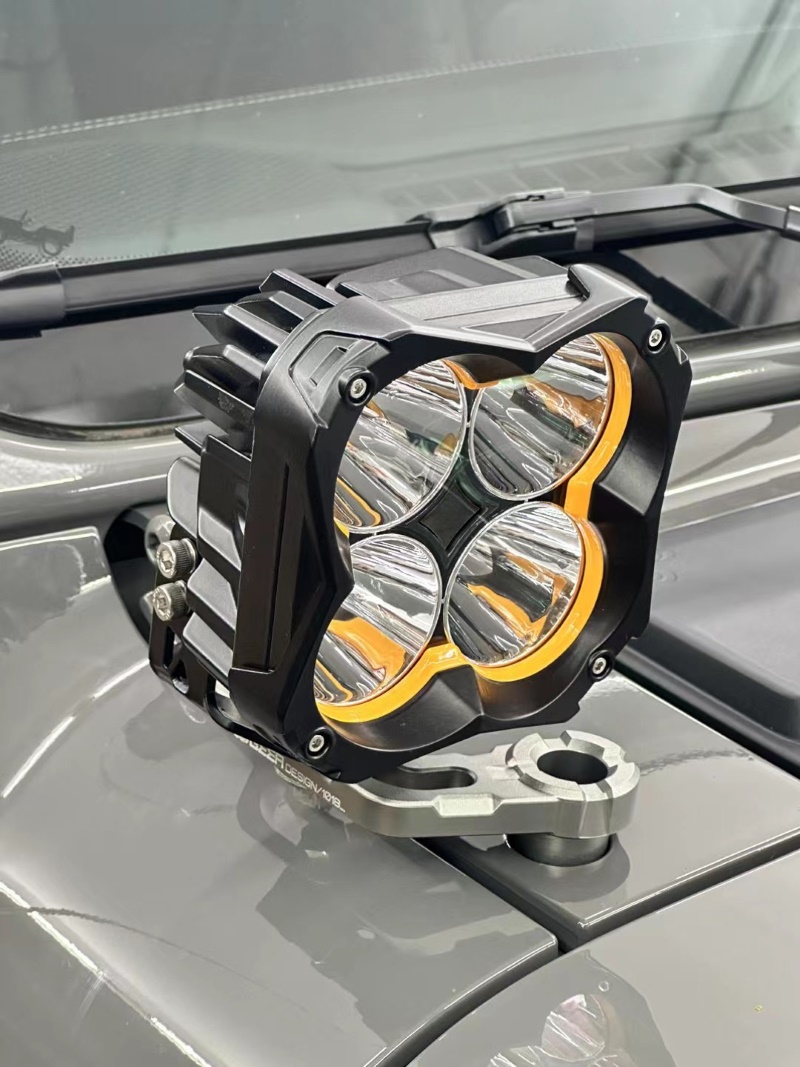
D) “More Power + Premium Optics” (bumper/roof/forward fill)
When customers want a stronger, more premium forward solution, TR1 5" 48W Pods (Spot/Combo, White/Yellow) are a solid step up. The deep optics design targets distance while keeping usable foreground fill, and the product line includes an intelligent temperature controller plus multiple beam/color variants with lux/throw data listed.
- Deep optics for distance + usable foreground fill; intelligent temperature controller.
- IP67; 9–36V DC; White Spot/Combo and Yellow Spot/Combo options.
8. Quick “Dealer Cheat Sheet”
Use the quick mapping below to recommend the right SKU in seconds:
- Want true ditch side coverage → 3012 Series (recommend Driving/Fog/Flood for outward aiming).
- Want small pod + maximum throw → TR2 Hyper Spot.
- Want entry-level easy SKU → 3045 20W Spot.
- Want premium power + optics → TR1 5" 48W Spot/Combo.
If you want more information about LED lights, welcome to our website www.ogaled.com and immerse yourself in the sea of knowledge!


 2026-06-12